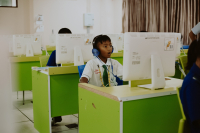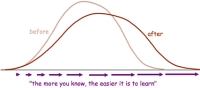
The students that I have been using this technology with have varying levels of visual impairment. One student in particular requires text to be at least size 24 before they can read it. This, as you can imagine, can cause a lot of problems in the classroom. Even when the text is blown up to a much larger size, they would still need to hold it four inches away from their face just to read it. Another problem with blowing up pieces of paper is a loss of quality in the materials and the fact that they will have a bag full of A3 pieces of paper with enlarged text which usually will get lost or crumpled up in their bag.
"What I find useful about VoiceOver is how clear the voice is and how easy it is to understand."
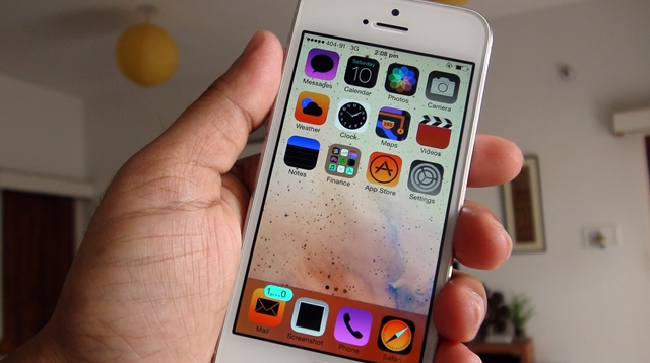
In this article, I will explain how we have customised iPads to make them an invaluable tool for students with visual impairments. The iPad has a range of built in features that allows visually-impaired people and students to access material more easily. Three native features we use are VoiceOver, Invert Colours and Zoom.
Firstly, VoiceOver will read whatever text is on the screen. What I find useful about this feature is how clear the voice is and how easy it is to understand. You can control the speaking rate from very slow to very fast, and the students I have worked with have no issue understanding the voice. In educational settings, I have found the main use is to read a large amount of text from websites or documents. To ensure the voice is easier to understand, I have enabled pitch effects which makes the voice sound a lot more real as well.
The next option is Invert Colours, which, like the other features is a great tool but not always needed. It is a very simple tool, in that it is either on or off. This app is used most when the student is reading text or looking for an icon in an app or website.
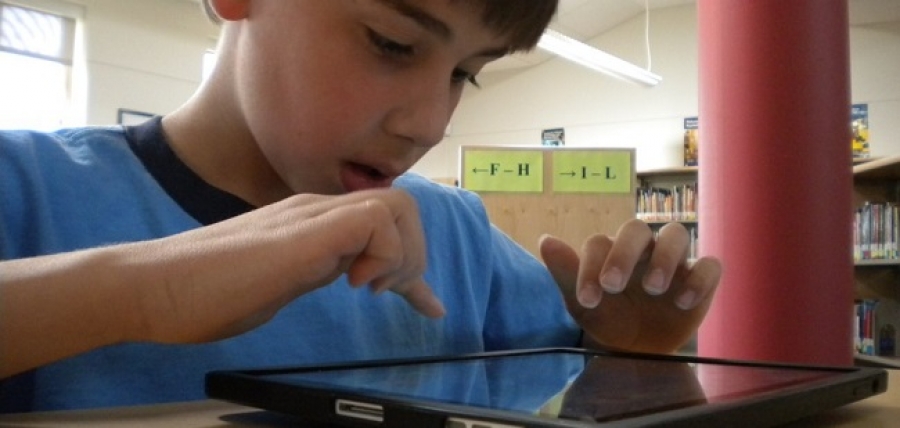
The final and perhaps most useful innate feature used is the zoom function, which allows students to zoom into anywhere on the screen and, more importantly, control the level at which they can zoom in, from 100% all the way up to 500% of the screen size. The best thing about this feature is that it works in any app, even on the home screen, so if pupils have difficulty finding something, they will be able to zoom in and find it. Similarly, on Safari or any other app, if there is a small icon that they cannot see or find, they can zoom in and navigate around to see where it is. This is extremely useful where the standard pinch and zoom does not work. To zoom in, they simply tap on the screen twice with three fingers. In addition to the zoom function, when the student is on a supported app, they will use the pinch and zoom feature to easily see the content, be it web-content, worksheets or photos.
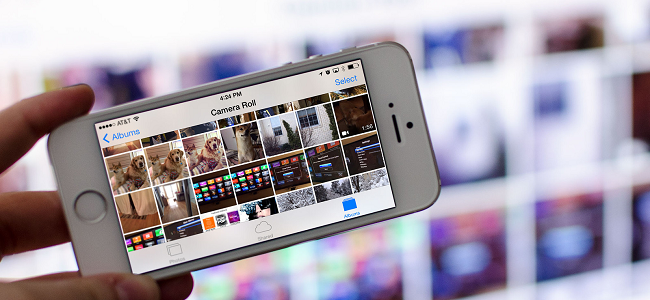
In addition to the native features built into the iPad, we also use apps to help visually-impaired students. The first is the standard camera app, which the students use to take pictures of worksheets and then zoom in to them using the pinch and zoom technique. This works very well with the invert colours accessibility option, so when the students takes a picture of a worksheet or resource, they can then invert the colours on the screen to see the resource better. I have experimented with similar apps, such as magnifier app Mag.Light, but none are as user friendly and easy to use as the camera.
"Currently, iBooks is being used predominantly in English to read literature books."
One of the most powerful apps we have been using is one which allows for the visually-impaired students to connect to the school network. This allows the them to access their documents from the school network, but more importantly allows them to access a range of teacher resources. We have been using the app FileBrowser, but there are many alternative file explorers. This is just the best one I have personally used. We have created a folder on the school network that teachers and students can access where they can put a range of different resources for lessons in. These vary from teacher PowerPoints (so they can see what is on the board) to worksheets which can be completed on Microsoft Word, which is also installed on the iPad. The worksheets can be edited and completed via Word, and can then be emailed or printed out.
One of the main problems we have as teachers when we teach students with visual impairments is the problem of those students seeing what is happening at the front of the class. What happens if you are doing an interactive activity where you ask students to come up to the board and write down answers? That is a great interactive activity for most students, but for the visually-impaired, they do not know what is happening on the board. We have tackled that issue using an app called AirMirror, which displays the teacher’s screen on the student iPads. This works well because the student can finally see what is happening on the board at the front. The app has the option to only allow the student to view the teacher’s screen, so you do not need to worry about having the student clicking around on your screen.
Another powerful tool we have been using to help students with visual impairments is iBooks, an Apple-based app that allows you to download over two million books straight to your iPad. Currently, iBooks is being used predominantly in English to read literature books (most of which are available from the iBook app store). The good thing about the app is that it easily allows the text of a book to be enlarged without the need to pinch and zoom. This has made reading literature books so much easier. In addition to using iBooks for just standard reading books, we have also put the student’s homework diary on there. This has been very useful because there is lots of general information in there such as important dates, conversion tables etc. These resources are usually referred to in a number of lessons so the student uses iBooks to locate this and look at it.
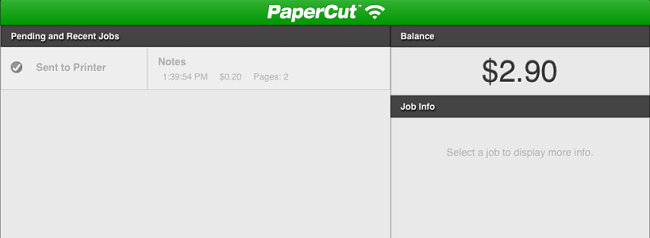
Finally, a set of apps that we use constantly is the Office Suite, which includes Microsoft Word and PowerPoint. These apps are used by the students to complete classwork and homework or even for taking simple notes. An email account has been set up on the iPad so that work can be instantly sent to their teachers and can also be sent straight to the printer using the PaperCut app.
It is clear, therefore, that the iPads have had a very positive effect on our visually-impaired students’ education. However, when we first introduced the iPad to these learners, it was not taken too well. They barely used it and had to be constantly reminded to use it in their lessons. It turned out that this was because they didn’t like the attention the iPad gave them. We did originally try using a Bluetooth keyboard that clipped onto the iPad when needed and had enlarged keys, but the students did not like this and preferred to use the onscreen keyboard.
We came to the conclusion that they would be more comfortable with it if they didn’t need as much help from the TA to use it. Therefore, with after-school training sessions, they learnt how to use the iPad independently, and this had a great, positive effect on their attitude towards it. They are now constantly using the iPads inside and outside of lessons to aid their education.
We have tried a range of other apps and tablets, but we feel that with the combination of these apps and the iPad we have found the right balance to help support visually-impaired students. You may have different experiences with it, and it may not work for you, but if you are interested in implementing this technology, or would like to find out more, please feel free to email me.
Do you work with visually-impaired pupils? Share your experiences below.